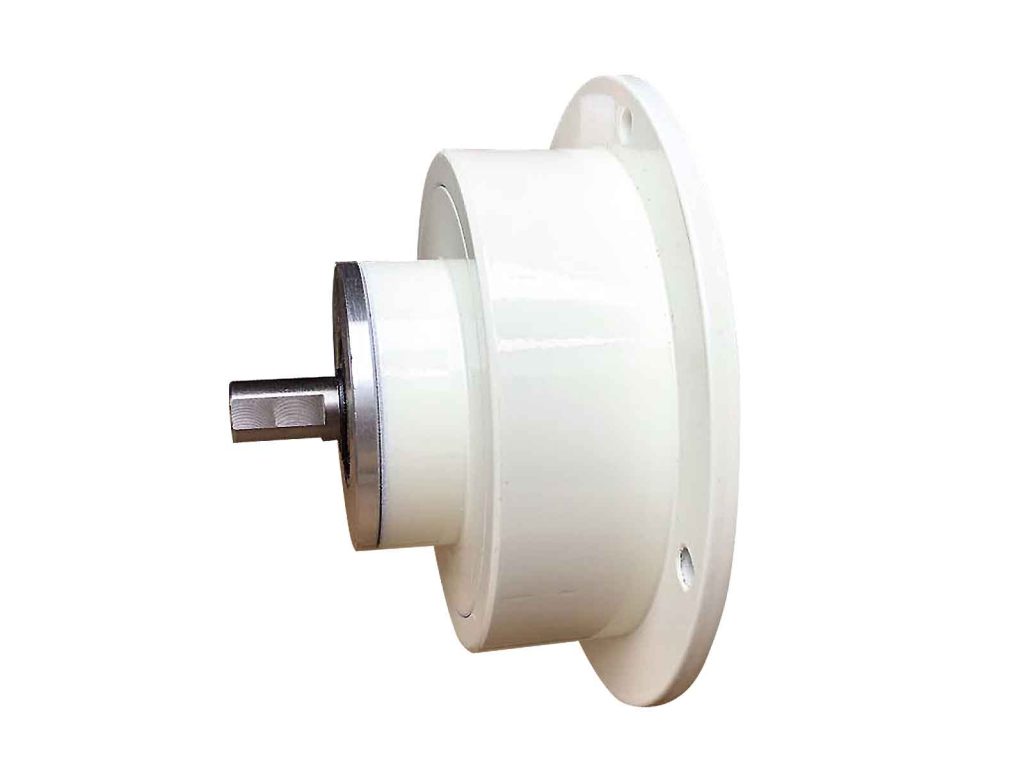
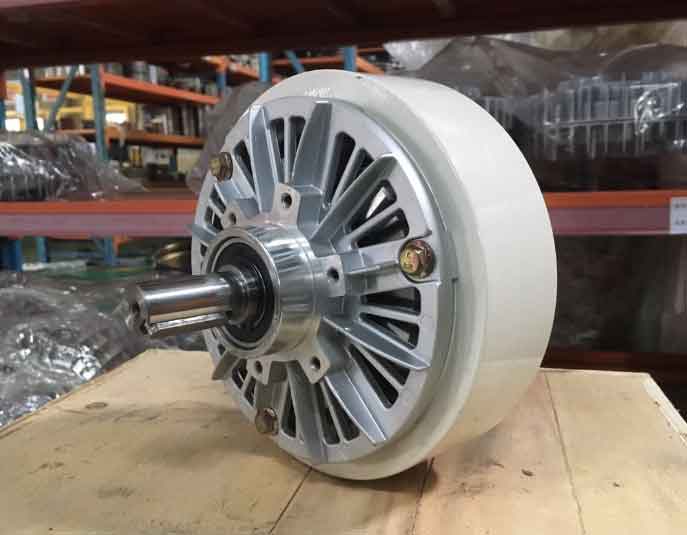
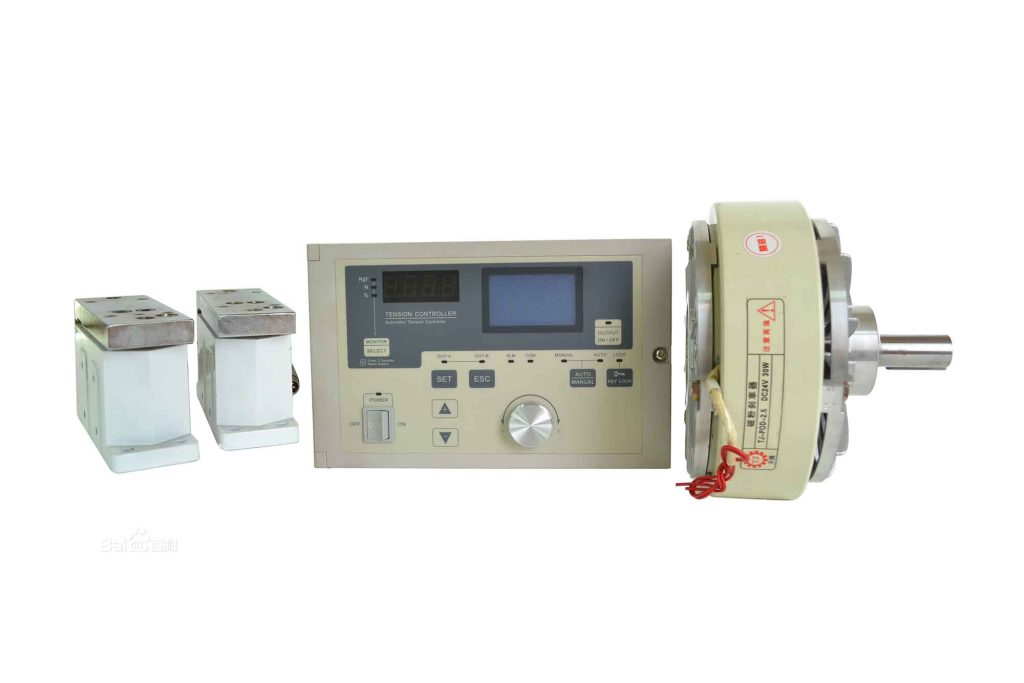
Installing a magnetic particle brake on a machine or equipment is a crucial step to ensure precise torque control and reliable braking capabilities. Magnetic particle brakes offer versatile solutions for various industries, but proper installation is essential for optimal performance. This article provides a step-by-step guide to help you navigate the installation process smoothly and efficiently.

Step 1: Pre-Installation Preparation
Before installing a magnetic particle brake, it’s essential to gather the necessary tools and prepare the machine or equipment for the installation. Follow these steps:
- Read the Instruction Manual: Thoroughly review the instruction manual provided by the brake manufacturer. Familiarize yourself with the specific installation guidelines, recommended torque settings, and any unique requirements.
- Gather Tools and Materials: Collect the tools and materials needed for the installation, which may include wrenches, screwdrivers, mounting brackets, fasteners, and electrical connectors. Ensure you have the appropriate tools for the specific brake model and installation requirements.
- Prepare the Machine or Equipment: Ensure that the machine or equipment is powered off and disconnected from any power source. Clean the installation area to remove any debris or contaminants that could interfere with the installation process.
Mounting the Magnetic Particle Brake
Proper mounting of the magnetic particle brake is crucial for its stability and functionality. Follow these steps for a successful installation:
- Identify the Mounting Location: Select an appropriate location on the machine or equipment for mounting the brake. Consider factors such as accessibility, clearance, and proximity to other components. Refer to the manufacturer’s guidelines for recommended mounting positions.
- Attach Mounting Brackets: If the brake requires mounting brackets, attach them securely to the designated location using the provided fasteners. Ensure the brackets are aligned properly and tightened to the specified torque.
- Position the Brake: Carefully position the magnetic particle brake onto the mounting brackets. Align the brake’s bolt holes with the corresponding holes on the brackets. Be cautious not to damage any electrical connections during this step.
- Secure the Brake: Insert and tighten the bolts or screws through the brake’s bolt holes and into the mounting brackets. Gradually tighten the fasteners in a diagonal pattern to ensure even and secure attachment. Refer to the manufacturer’s recommended torque settings for proper tightening.
Step 2: Electrical Connections
Establishing the electrical connections is essential for the magnetic particle brake to function correctly. Follow these steps to ensure proper wiring:
- Identify Electrical Connection Points: Locate the electrical connection points on the magnetic particle brake. These may include terminals or connectors designated for power input, control signals, and ground connections. Consult the instruction manual for specific details.
- Connect Power Supply (H4): Connect the power supply wires to the appropriate terminals on the brake. Ensure correct polarity and tighten the connections securely. Adhere to safety guidelines and any specified voltage or current requirements.
- Control Signal Wiring: If the brake requires external control signals, connect the control wires to the designated terminals. These signals may include speed control, torque control, or braking signals, depending on the application. Follow the manufacturer’s instructions for proper wiring.
- Grounding: Establish a solid grounding connection for the magnetic particle brake. Connect the ground wire to the designated grounding terminal or grounding point on the brake. Proper grounding is essential for electrical safety and performance.
Step 3: Final Checks and Testing
Once the magnetic particle brake is mounted and connected, perform final checks and testing to ensure proper installation:
- Inspection: Inspect the installation to ensure all connections are secure, bolts are tightened, and there are no loose components or potential hazards. Verify that no wiring is pinched or damaged during the installation process.
- Power On and Testing: Power on the machine or equipment and test the magnetic particle brake’s functionality. Gradually apply power and control signals while observing the brake’s response. Ensure the brake engages and disengages smoothly, and torque control is accurate.
- Adjustments and Fine-tuning: If necessary, make adjustments to the torque settings or control parameters to achieve the desired performance. Refer to the instruction manual for guidance on fine-tuning the brake’s operation.
Final Words
Installing a magnetic particle brake requires careful preparation, proper mounting, and correct electrical connections. By following this step-by-step guide, you can ensure a successful installation that enables precise torque control and reliable braking capabilities. Proper installation is vital for maximizing the performance and longevity of the magnetic particle brake, contributing to the smooth operation of the machine or equipment.

